P1 and P2: Describe How to Use Camera Equipment and the Settings to Record Cinematic Quality Footage
P1 and P2: Describe How to Use Camera Equipment and the Settings to Record Cinematic Quality Footage
For my LO1 Cinematography, I am going to describe how to use the equipment that I will be using to create my music video. I will take photos of the equipment and explain how to use it.
Cameras, Lenses and Equipment
To produce footage for our music video, we will need to use the cameras to film the video. We have access to lots of cameras at college as you can see below.


Here you can see we have access to tripods and a dolly. As you can see, the purpose of a tripod is to place a camer on top so you can record steady video footage instead of holding the camera in your hands and having shaky footage. This helps you create good quality, cinematic quality footage and this also helps your videos look professional. A tripod is stendy, it has grips at the bottom of the feet to keep it stable. A dolly has wheels for feet, this helps you record tracking shots or pans much easier since you can steadily move the camera. A normal tripod can be used for steady shots and tilt shots. To attach a camera to the tripod, you need to use the plate and screw this into the bottom of the camera. This plate then slides onto the top of the tripod and then you will need to tighten this in place etc.


Our phones, being blackbox devices, have cameras built into them. The blackbox theory by Henry Jenkins states that technologies have converged into one device. Our phones can be used to take photos and videos. We can also do simple editing and add filters to these photos and videos. All phones have a front facing camera and a camera at the back so you can take photos of your surroundings but also selfies. With our phones being connected to WIFI, we can use apps such as Snapchat to add filters and we can also share our photos and videos on our socials or to whoever we would like.


This is a Cannon 250D DSLR (digital) camera. These cameras are amazing for photography and can also shoot some brilliant footage too. DSLR cameras have a much better auto focus feature because of the digital sensor which means you should not need to adjust any other camera settings if you are using the manual setting. However, you can use the manual setting and adjust the different settings (Aperture, shutter speed, ISO, white balance...) if you wish.


We have two Mavic 2 drones available to use from college. Drones have a camera and audio built into them. This means that we can record footage from high places. We do however need to follow the rules (how far up you can fly and where) and get a drone license to use it. Drones are great for creating establishing shots, to show how large the world is and the show a huge architectual structure.
The drone code states that you cannot fly your drone in some zones or areas such as near an airport. You can only fly your drone up to 120 metres/400ft in the air. This stops your drone from distrupting planes etc. You must have a drone license to fly. If you do not follow the laws put in place, you can prosecuted or fined.
There are a lot of rules that you can read here: https://register-drones.caa.co.uk/drone-code


We have access to many lenses as you can see above. You can attach these lenses to the camera of your choice. A fish eye lens allows you to get wide angled shots. They usually have a 180 degree view.

We also have access to different mm lenses too. The higher the number, the more you can zoom in but the lower the number, the wider the shots will be. We have: 18-55mm, 7.5mm fish eye lens, 50mm and more lenses. We also have lens caps to make sure the lenses are protected.


This is a canon 4K video camera. These cameras are used especially for video and has very high quality. These cameras are used especially in the filming industry.


This is a Kodak Pixel Pro FFZ01 digital camera.

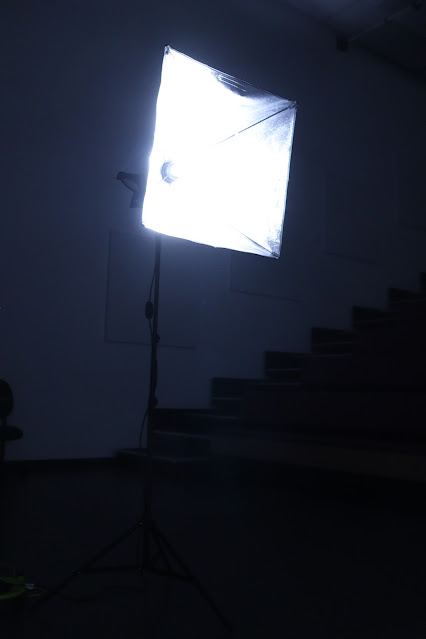
Camera Settings

Frame rate is how many frames the camera takes in a second. This is usually 24fps in the media industry (animation, film and TV...). The higher the FPS, the slower your video will become since the camera is taking more photos in that second. This is usually used at around 60-120 FPS. Movies use this slow motion effect to show action slowed down or show a character in distress/about to faint.
Your shutter speed must be about twice the speed of your frame rate to ensure that your video will look natural. Shutter speed controls how long the camera is exposed to light. The lower the shutter speed, the more motion blur there is and the lighter the footage is. The higher the footage speed (less light goes in the camera so it is darker) the less motion blur.
ISO refers to how the camera sensor is sensitive to light. The lower your ISO, the darker your footage and there will be less grain. However, if you used a high ISO, your footage may be lighter, but the footage will be very grainy and static like.
Aperture controls how much light you let into the camera. The higher the aperture number, the less light is let into the camera and the background will be in focus. The lower the aperture number, the lighter the footage and this increases background blur. Aperture is measured in F. Stop.
White balance is used to make sure the colours are correct in different lighting. If white balance isn't used, the colours could be warmer or cooler (red and blue) than they are in reality. To have the correct white balance in an enviroment you will need to use a white object in the scene, a piece of paper or a white balance card. If the colour white is correct, then so are all other colours. The lighting changes the colours of a setting therefore you will need to recalculate the white balance depending on your location.
Now you understand that these settings change the lighting of camera footage with their own advantages/disadvantages depending on what you would like your footge/photo to look like.Audio Equipment

This is a Joby USB mic that you can connect to your camera for better audio quality. The mic is used to record sound clearly that a camera cannot do. However, if you are in a noisy environment (busy road) then the mic will pick up the background noise too. A quiet environment such as a small room or office would be best for this type of mic.


Lapel Microphones are brilliant for interviews, especially in a noisy environment since you can hear what the subject is saying anyway. They clip onto the subject's clothing so you can hear them speaking clearly. The wires can be hidden underneath clothing so it looks professional.

Comments
Post a Comment