M1: Explain the Use of Lighting and Camera Settings In the Context of the Plan You Have Created
M1: Explain the Use of Lighting and Camera Settings In the Context of the Plan You Have Created
To create our music video, we will need to use camera and lighting equipment. We will be implimenting different lighting and camera techniques and settings to ensure our music video is interesting and fits the genre. Our music video will be for the song Nightmare by Set It Off, this is a pop punk song therefore we need to be aware of what techniques we use.
Camera Equipment

To record our music video, we will be using a Cannon EOS 250D. These are DSLR cameras that are used in the industry. The camera has an automatic and manual mode, however I will be filming our music video manually to ensure our cinematography is effective and our footage is clear. I will be changing the different camera settings (ISO, Aperture, Shutter Speed, White Balance) and manually changing the focus so our footage is always in focus. I chose this camera specifically since it has brilliant filming quality. I will be using a tripod to film some of our footage. Some of our footage will be handheld; the song Nightmare is very energetic and fast paced so having some handheld footage reflects the pace of the song and the genre. Plus, this shows how the character is frantic and trying to escape their nightmares.
Camera Settings
I will explain what each camera setting does and what I will set these for our music video. All of these settings effect each other except from white balance.
Aperture refers to how much light is allowed into the camera. This setting allows me to control the foreground and the background. This is measured in F-stops. Higher the F-stop means that the foreground and background is clear whereas a lower F-stop creates background blur behind the subject. We will be using the background blur for the alleyway scene and the school scene.
Shutter speed is how quickly the camera shutter closes. If you have a low shutter speed, you can create background blur. This is because the camera isn't taking many photos in that time frame. A higher shutter speed is great for a fast moving subject if you do not want blur. We can use a low shutter speed during our alleyway and school scenes since the lyrics say "Is that my breathing gets faster and so does my heartbeat" "As my vision gets blurred, my skin's getting colder". The blur would relate to the lyrics and show how the character is losing their mind.
ISO is how your camera sensitivity reacts to light. The lower the ISO, the darker the image and vice versa. If your ISO is too high, your photos/videos can suffer from grain so it is important to adjust the other settings too so you can ensure this doesn't happen. ISO really depends on the location and time of day we film.
White balance is used to make sure that the colours are correct on the camera. To do this, professionals will cary a white piece of paper, a white balance card or find a white object in the environment to make sure that the colours are right.
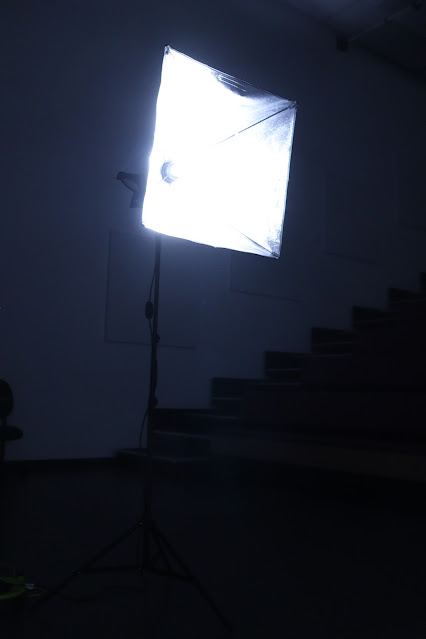
Lighting

Cinematography covers not just the camera used for our video, but also the lighting. For our music video, we are going to use two Ambiful FL80RGB lights. These lights are perfect for our music video, they are different from standard lights. Since we are creating a pop punk music video, we will need to use harsh lighting since this fits the genre. Using these lights and the SS LED app (you can bluetooth the app to the light to control it better) we can change the colours of the lighting, the intensity and there are also several lighting modes available. The plan for our music video is to use red lighting for our performance segment to fit the conventions of a pop punk music video. In our music video, our character will be running through different nightmare scenarios so including red light shows how scared they feel and how intense the nightmares are for them.
Having researched different lighting techniques, we have decided to use two point and chiaroscuro lighting. We are also going to use a little practical lighting too. For the alleyway scene of our music video, we are going to use practical lighting from the street lamp to make the video realistic. This connotes how real the world feels for the character. For the performance scenes, we will use the Ambiful FL80RGB lights to create deep red lighting. For the school scene, the lighting is going to be from the windows and the electrical ceiling lights. We will use chiaroscuro lighting to create shadows on the character as they perform, creating a cinematic yet scary video. We will also use the two point lighting to ensure the stage looks like it is lit up by professional theatre lighting.

Comments
Post a Comment